Monitor Supercharge
You know, I’m a hardware geek and perfectionist. This is a very bad combination.
This already led me into buying plenty of Android phones because there was always something that annoyed me and I knew there was something out there that would do a better job in this particular aspect.
I think I have it under control much better now than in the past but it still hits me and my monitor story is a proof of this 😏.
What happened so far
As described here: Monitor progression I ended up using an Apple Studio Display and was quite happy with it.
Then came my switch back to Android and things weren’t as gold as inside the cage any more so I switched to a Samsung Viewfinity 5k monitor (see Testing old new waters with Linux).
This was also working quite nicely until I tried some gaming on my ThinkPad. The poor Intel IRIS graphics card was hopelessly overwhelmed by the 5k display and one could feel that it was not meant to drive that amount of pixels.
At work we have plenty of 4k displays (most of them from LG) and running macOS on them works quite well. My eyes are bad enough to not distinguish 5k from 4k to be honest 🙈.
BetterDisplay did the rest to enable HiDPI scaling on those monitors so everything was fine.
So I decided to go with one of the lower end LG 4k displays (LG Ultrafine 27US550 to be exact).

This worked OK in my setup and I was a happy man… at least for some time.
Looking at the MacBook Pro screen next to the LG didn’t do the LG monitor a favour…
Another monitor hunt
I developed an expensive habit of discussing first world problems with Gemini and seeing what kind of solutions it has for me. This led already to a complete new network setup at home (TP-Link OMADA).
One day I asked it why it is so difficult to find a monitor that matches the MacBook Pro display and does not cost 6k.
I was also tossing around the idea that 32” could be a perfect fit for my desk (bigger would cause issues in my desk layout) and size. We have some desks with 32” monitors at work so I was able to use them (at least size-wise) already and the size was good for me.
After some deep research and back and forth over the different requirements (like slight gaming, mostly software development, watching movies, …) it came back to me with two suggestions:
- Dell UltraSharp U3225QE (IPS Black)
- Gigabyte AORUS FO32U2 (OLED)
I had some concerns about OLED and burn-in if it is not mainly used to display moving content but I learned that time was moving on and that this is not that big a problem any more as it used to be a few years back.
On the other hand an OLED monitor would get me amazing colors, viewing angle stability and real black really matching that display quality of my MacBook Pro.
So my initial idea was to try out that Dell monitor as I was too frightened to risk any burn-ins. You know - this is a kind of issue that cannot be unseen once spotted and would drive me crazy.
Luckily I searched for reviews first and even though the reviewers praised the brightness and contrast of the display for its technology they mentioned that this monitor is really bad for gaming. It seems to have severe motion blur which is a deal breaker for me.
For office work it is one of the best to get (according to the reviewers).
So I decided to go with the AORUS and so I’m now rocking a 32” 4k OLED display.
I learned a few things about potential burn-in and even though Gigabyte gives a 3 year burn-in guarantee I decided to switch to dark mode for my whole OS. I was a long-term light mode defender so it needs some getting used to for me but it’s slowly growing on me 😀. Never thought I would join the dark mode camp one day…
Impressions so far
I have it roughly for a week now so my impressions are very early.
The good
The VESA connection made it super simple to connect it to my existing monitor stand although I had to move it slightly to the right (as the monitor center had to move to the right to compensate the new width).
The monitor is ultra-thin. Didn’t expect that. Even had to tweak my monitor LED stripe a bit as it was not built for such thin monitors.
The image is unbelievable. The color vibrance, HDR effect, viewing angle - amazing.
Some downsides
This monitor is clearly meant for Windows gamers (Who would have thought this of the Gigabyte AORUS brand 🙄).
I learned that early firmware versions of that monitor had an issue with automatic pixel cleaning in standby so I wanted to update the firmware of that monitor. There is a firmware update utility provided by Gigabyte but - of course - this software only runs on Windows.
The only Windows machine left in our household is an old Intel NUC (i3) from my drawer.
So I had to dust off that ancient piece of hardware and boot into pauses for a moment Windows to do that update. Not nice but doable. Households without Windows devices would have an issue, though. Should be shown more prominent before buying in my opinion.
So overall I’m very happy with it. It interestingly was even cheaper than the Dell monitor!
Weird macOS experience
The macOS experience with that monitor was two-fold:
First thing I learned is that at some point in the past Apple seem to have adapted the HiDPI scaling approach from BetterDisplay and built it right into the system. I can just select “looks like 3008x1692” and macOS will do the up and downscaling to get crisp text. That’s very nice! (no longer fiddling around with a 3rd party tool that always had some small issues after standby).
Then I wanted to see HDR. This is where the problems started.
I had my MacBook (M2 Pro) connected via a USB-C to DP adapter. On a 240Hz refresh rate macOS did not allow me to select HDR. I mean - understandable. The amount of data that needs to be passed to the monitor is quite huge. So I selected 120Hz and was able to enable HDR. All good.
Then I searched the internet and talked to Gemini (again 😱) and it told me I could try a special CableMatters HDMI to USB-C cable that can be flashed with a special firmware to trick a few more options out of macOS.
I ordered a pre-flashed cable that was available at Amazon to avoid another side quest with my Intel NUC. In short: The alternative firmware seems to tell macOS that it is a DP cable while presenting itself to the monitor as HDMI 2.1. It needs to do this to have more options in macOS regarding resolution and refresh rate.
This alternative firmware renders the cable useless for Windows (I think it is limited to 1080p on Windows (and probably Linux as well)).
So I ordered that one and tried it: Same options but slightly worse colors (red was too intensive for example).
Then I tried to connect Thunderbolt directly: Colors were back normal and I was able to select 240Hz with HDR! Nice.
The next day I wanted to also enable HDR on my working computer (MacBook Pro M4 Max): No option there. I thought “maybe the latest macOS update improved that?”, installed the update but still: No HDR option (even with 120Hz). Only native 4k resolution or 60Hz refresh rate would allow me to use HDR.
I googled, asked Gemini (again 😱), asked Grok, ChatGPT and basically all came to the same conclusion (without a detailed explanation): It seems like Apple changed something on their graphic processing hardware which ultimately leads to a situation in which an M2 Pro MacBook has more options available than a M4 Max MacBook. That’s fascinating and weird at the same time. Just imagine using an M2 Pro and then finally decide to throw a couple of grand at Apple to get a new MacBook just to find out that your beloved 120Hz, HiDPI HDR combo is no longer working!
Maybe I will try BetterDisplay to see if it is able to squeeze more settings out of the M4 Max but for work HDR is not the most important setting 😏.
Update (2026-02-24): I tried BetterDisplay and at least this gives me the HDR option back in the settings. I didn’t have a chance yet to test if I actually see HDR content but this is progress already…
Update (2026-02-25): Sadly the monitor runs in HDR mode but the actual image that gets routed through the virtual display that BetterDisplay creates is not HDR. So I that did not help.
Final setup
This is what my desk layout now looks like. As you can see, this is the maximum size possible before having to drastically re-arrange things.
And this is how the monitor looks when running Cyberpunk 2077 on GeForce NOW.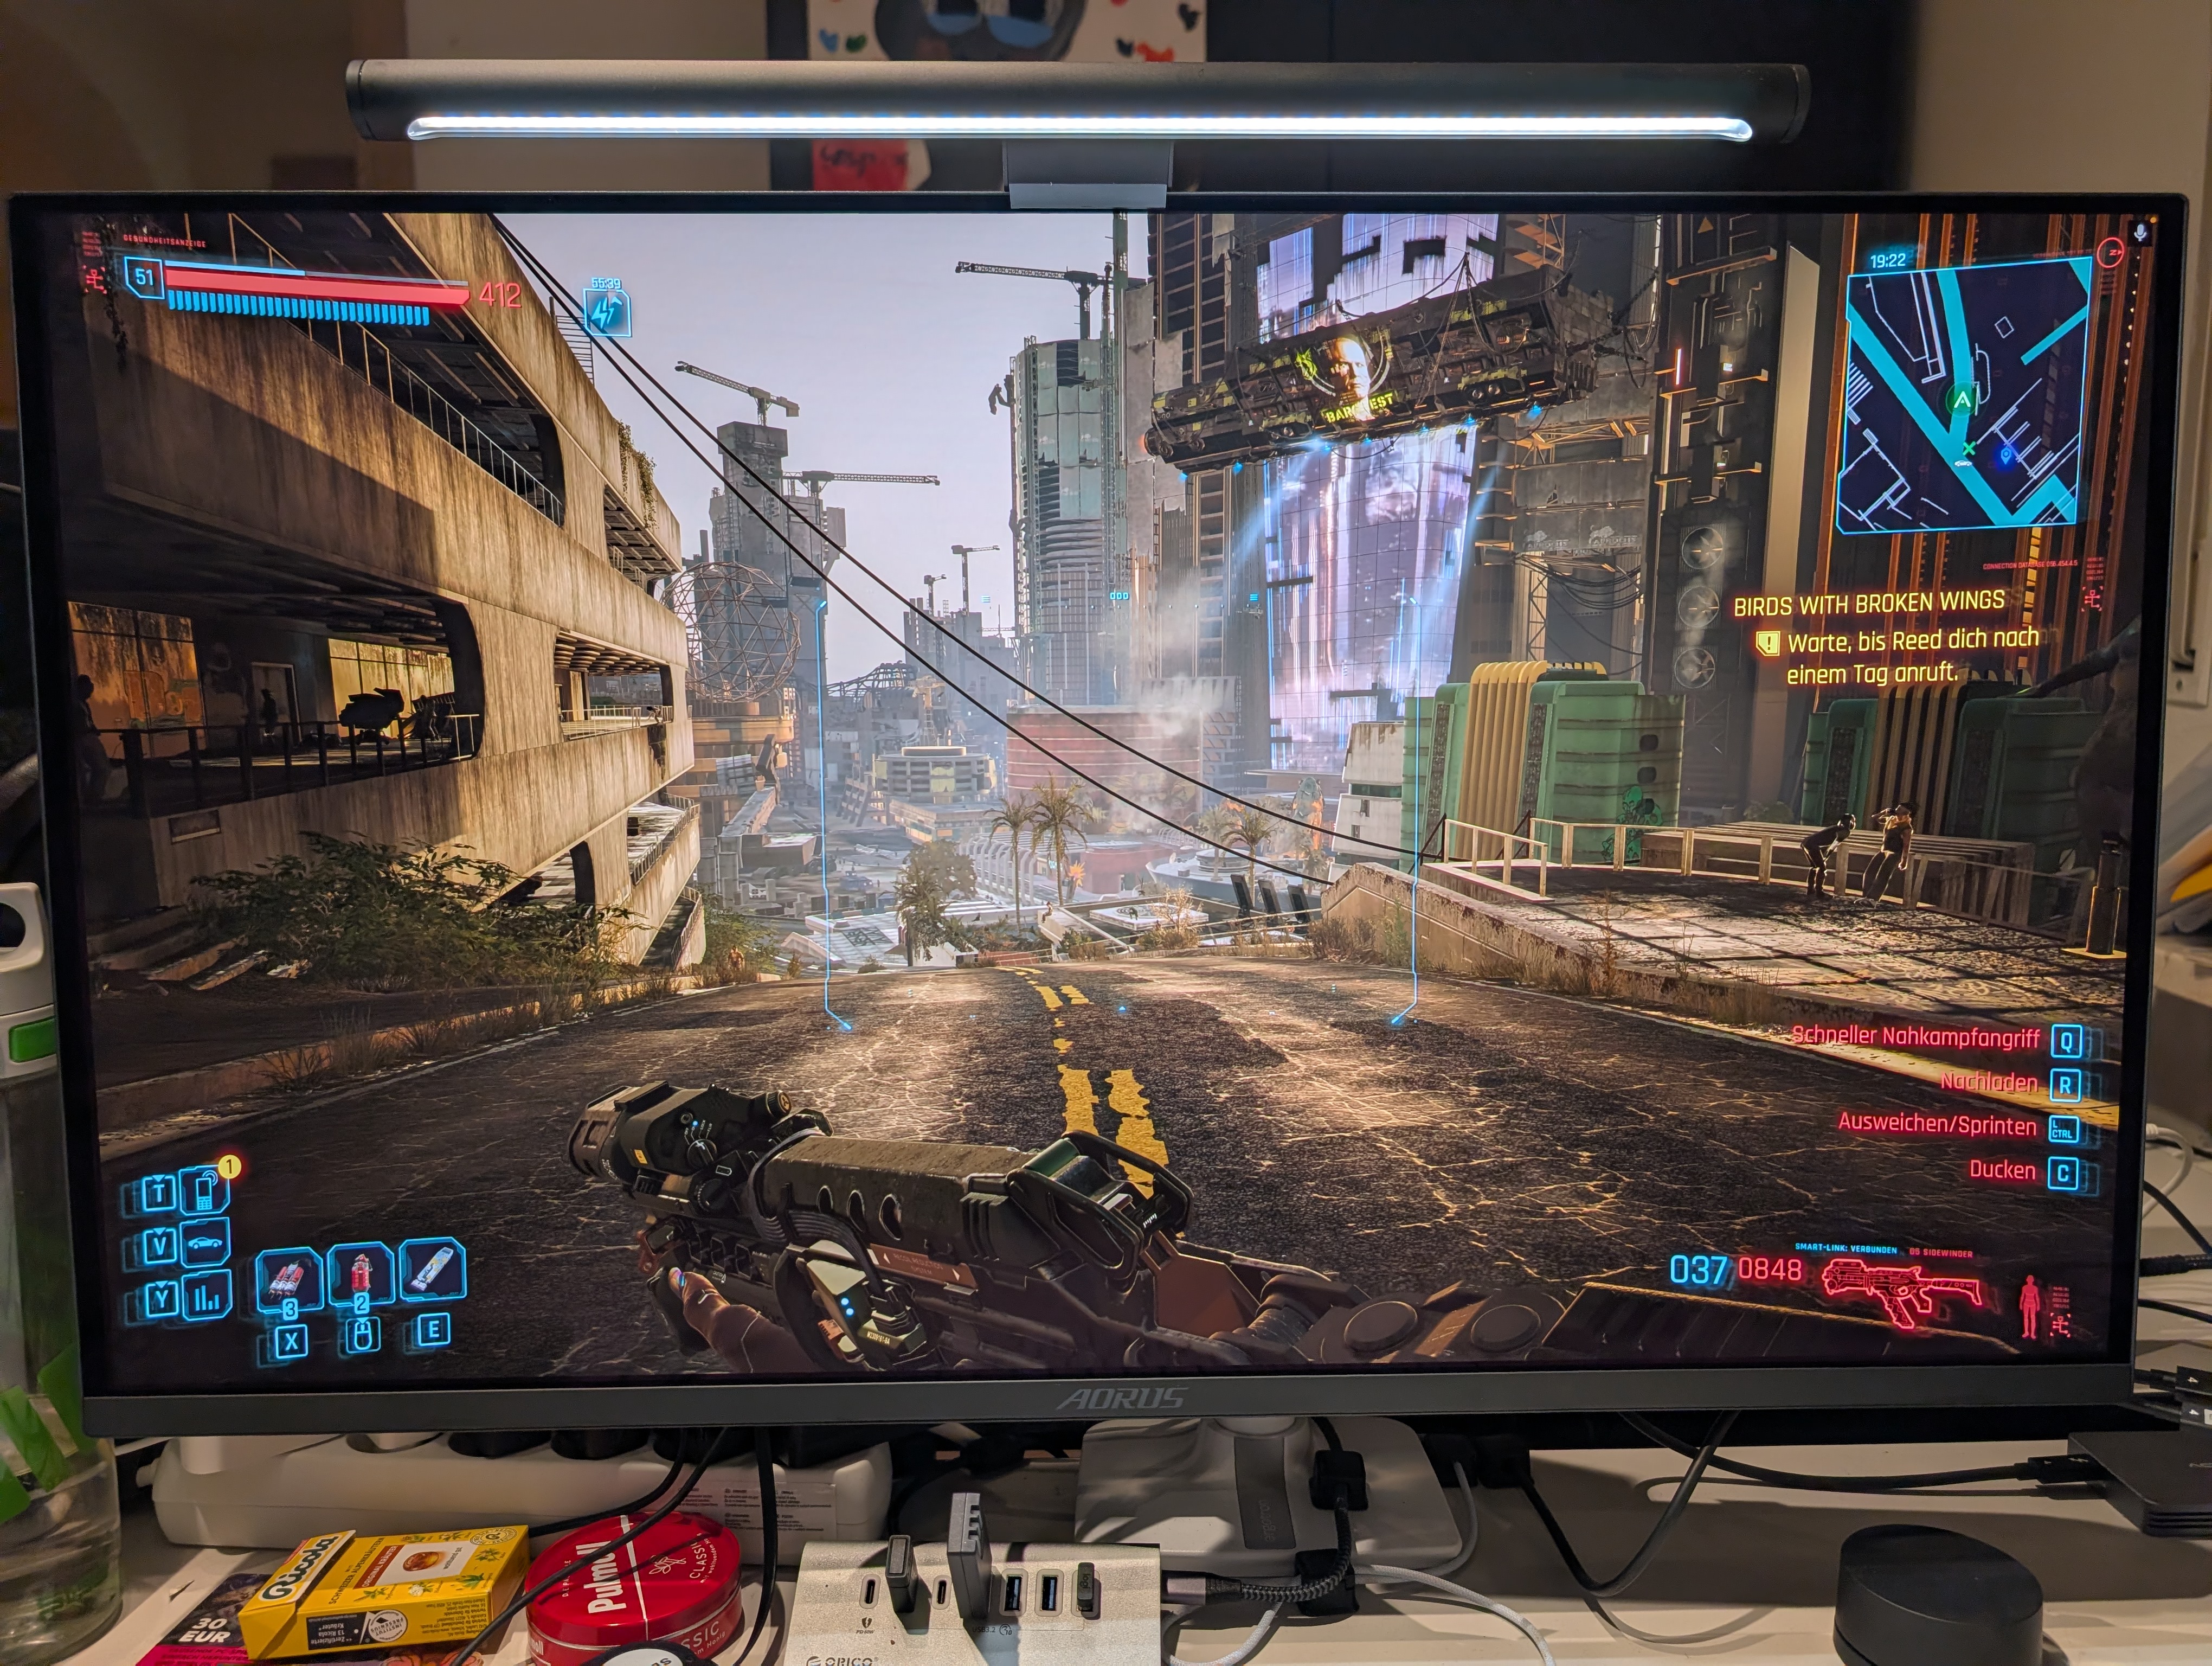
Wrapping up
So that’s another story in my never ending quest to improve my setup. Let’s see what tricks Gemini has next in store for me 🙈