Monitor progression
Ultra wide monitor
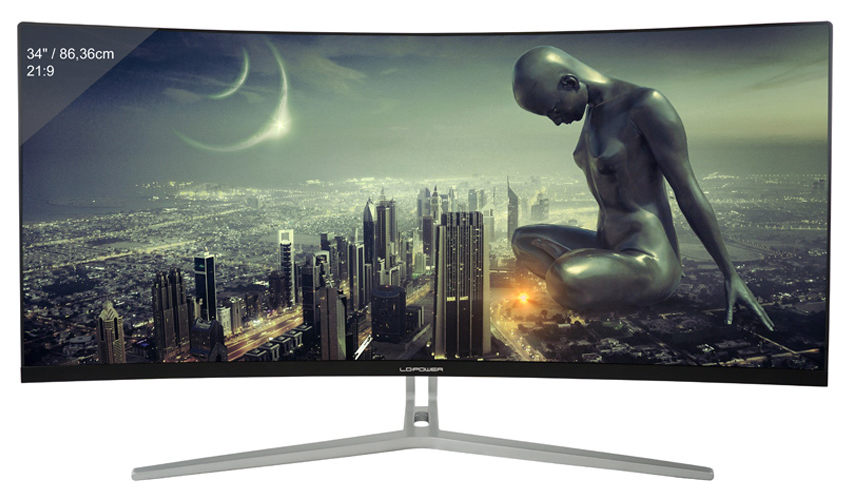
For years was using a 34” UWQHD monitor from LC-Power, LC-M34-UWQHD-100-C. It was a cheap monitor, but it worked, and it was very wide.
While really getting used to that horizontal space I also was not really happy with the overall quality (picture and build) so one day in 2021 I decided that I need to upgrade my monitor.
At that time I had my 13” MacBook Pro and while the resolution of the monitor was OK it was not really ideal for macOS. I had to use the 100% size mode which is a bit too tiny for my taste. But the next natively supported resolution was just way too big.
There were some tools out there that tricked macOS into rendering a too big picture and then scaling it down to the resolution of the monitor, but those tools need to create a separate virtual screen buffer consumed quite a big portion of my RAM, so I stayed with that 100% scaling.
I used a CalDigit docking station to only plug one cable into my MacBook and have all the periphery connected which I really got used to and didn’t want to miss in any new setup.
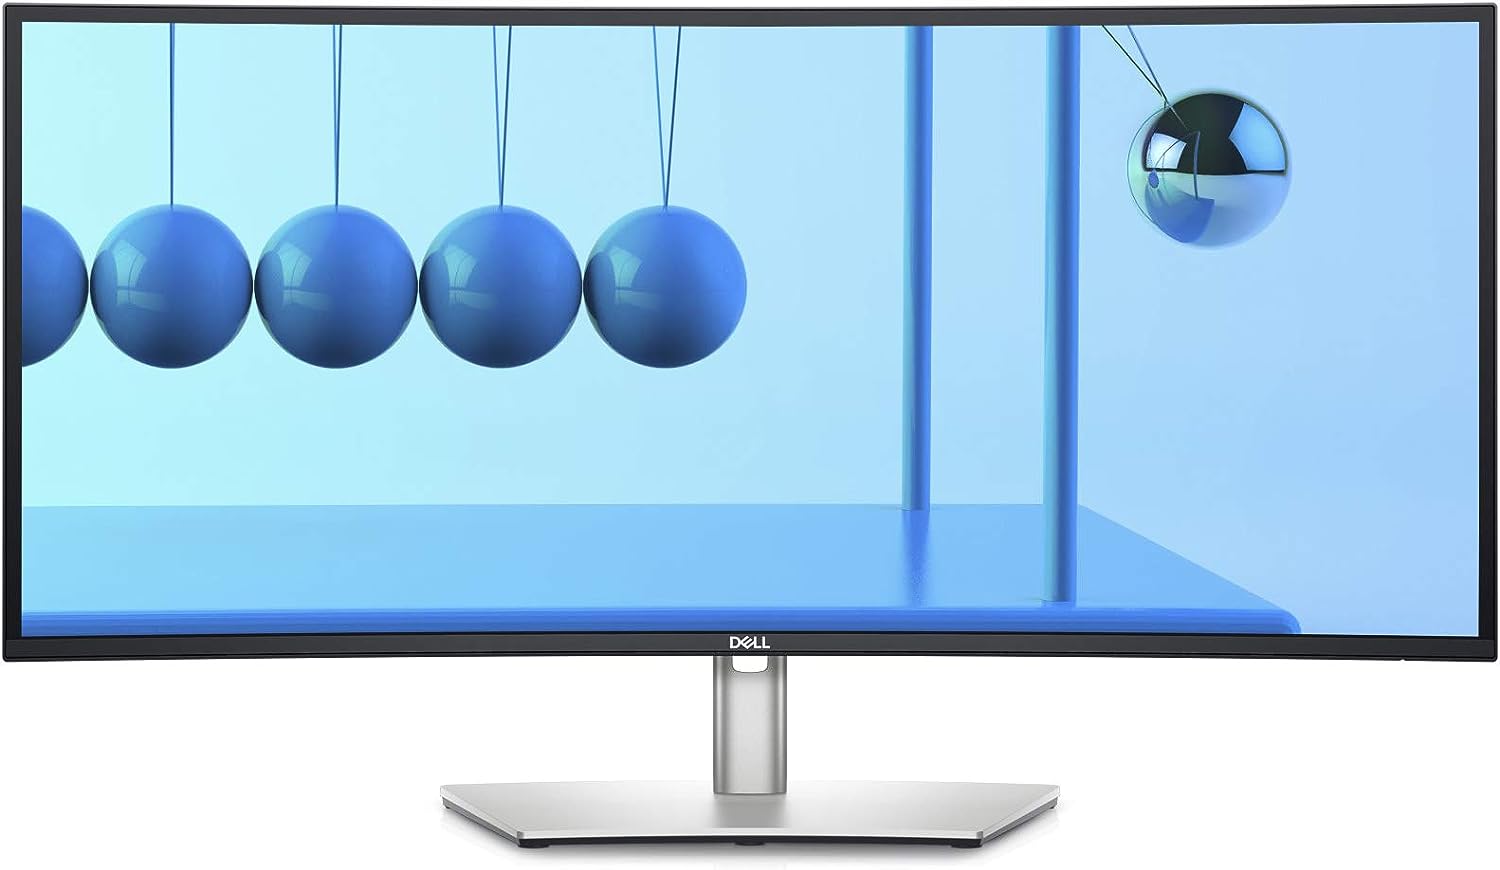
Then I discovered the Dell lineup of monitors and saw an Ultra Wide monitor exactly the size of the LC-Power (34”, same resolution, DELL U3421WE) but with much better picture and build quality.
The monitor also said that it has a docking station built in meaning I could get rid of that CalDigit as well, so I ordered one to test.
Once it arrived, and I set it up I was really happy with the picture quality and the overall build quality. The main issue was that I had to decide - in the on-screen menu - if I want to have a higher resolution / refresh rate or higher USB-C speed 🙁
The second - much more critical - issue was that the built-in network adapter seemed to not be compatible with our network system (AmplifiHD at that time, but that’s another story) meaning the moment I plugged the network cable into the monitor the whole network stopped working a few minutes after. This has caused quite a few complaints from family members until I found the cause of this issue 😅.
Given that I was really happy with the picture quality and because there were no real alternatives (higher DPI) I decided to keep it and live with using the CalDigit Docking station for now.
New options arise
This setup also worked well with the 14” M1 MacBook Pro, but I was always watching out for a monitor with a higher DPI. Especially since the native resolution of the Dell did not work well with macOS scaling and 100% was really tiny (same issue as with the LC-Power monitor).
Still no real alternative in sight that I wanted to afford I kept using it.
Then Samsung and Dell announced their 5k / 6k monitors and I had hopes to get a higher DPI monitor. Of course this would mean giving up horizontal screen estate but for a higher DPI that works well with macOS I was ready to give that up. So I was hooked.
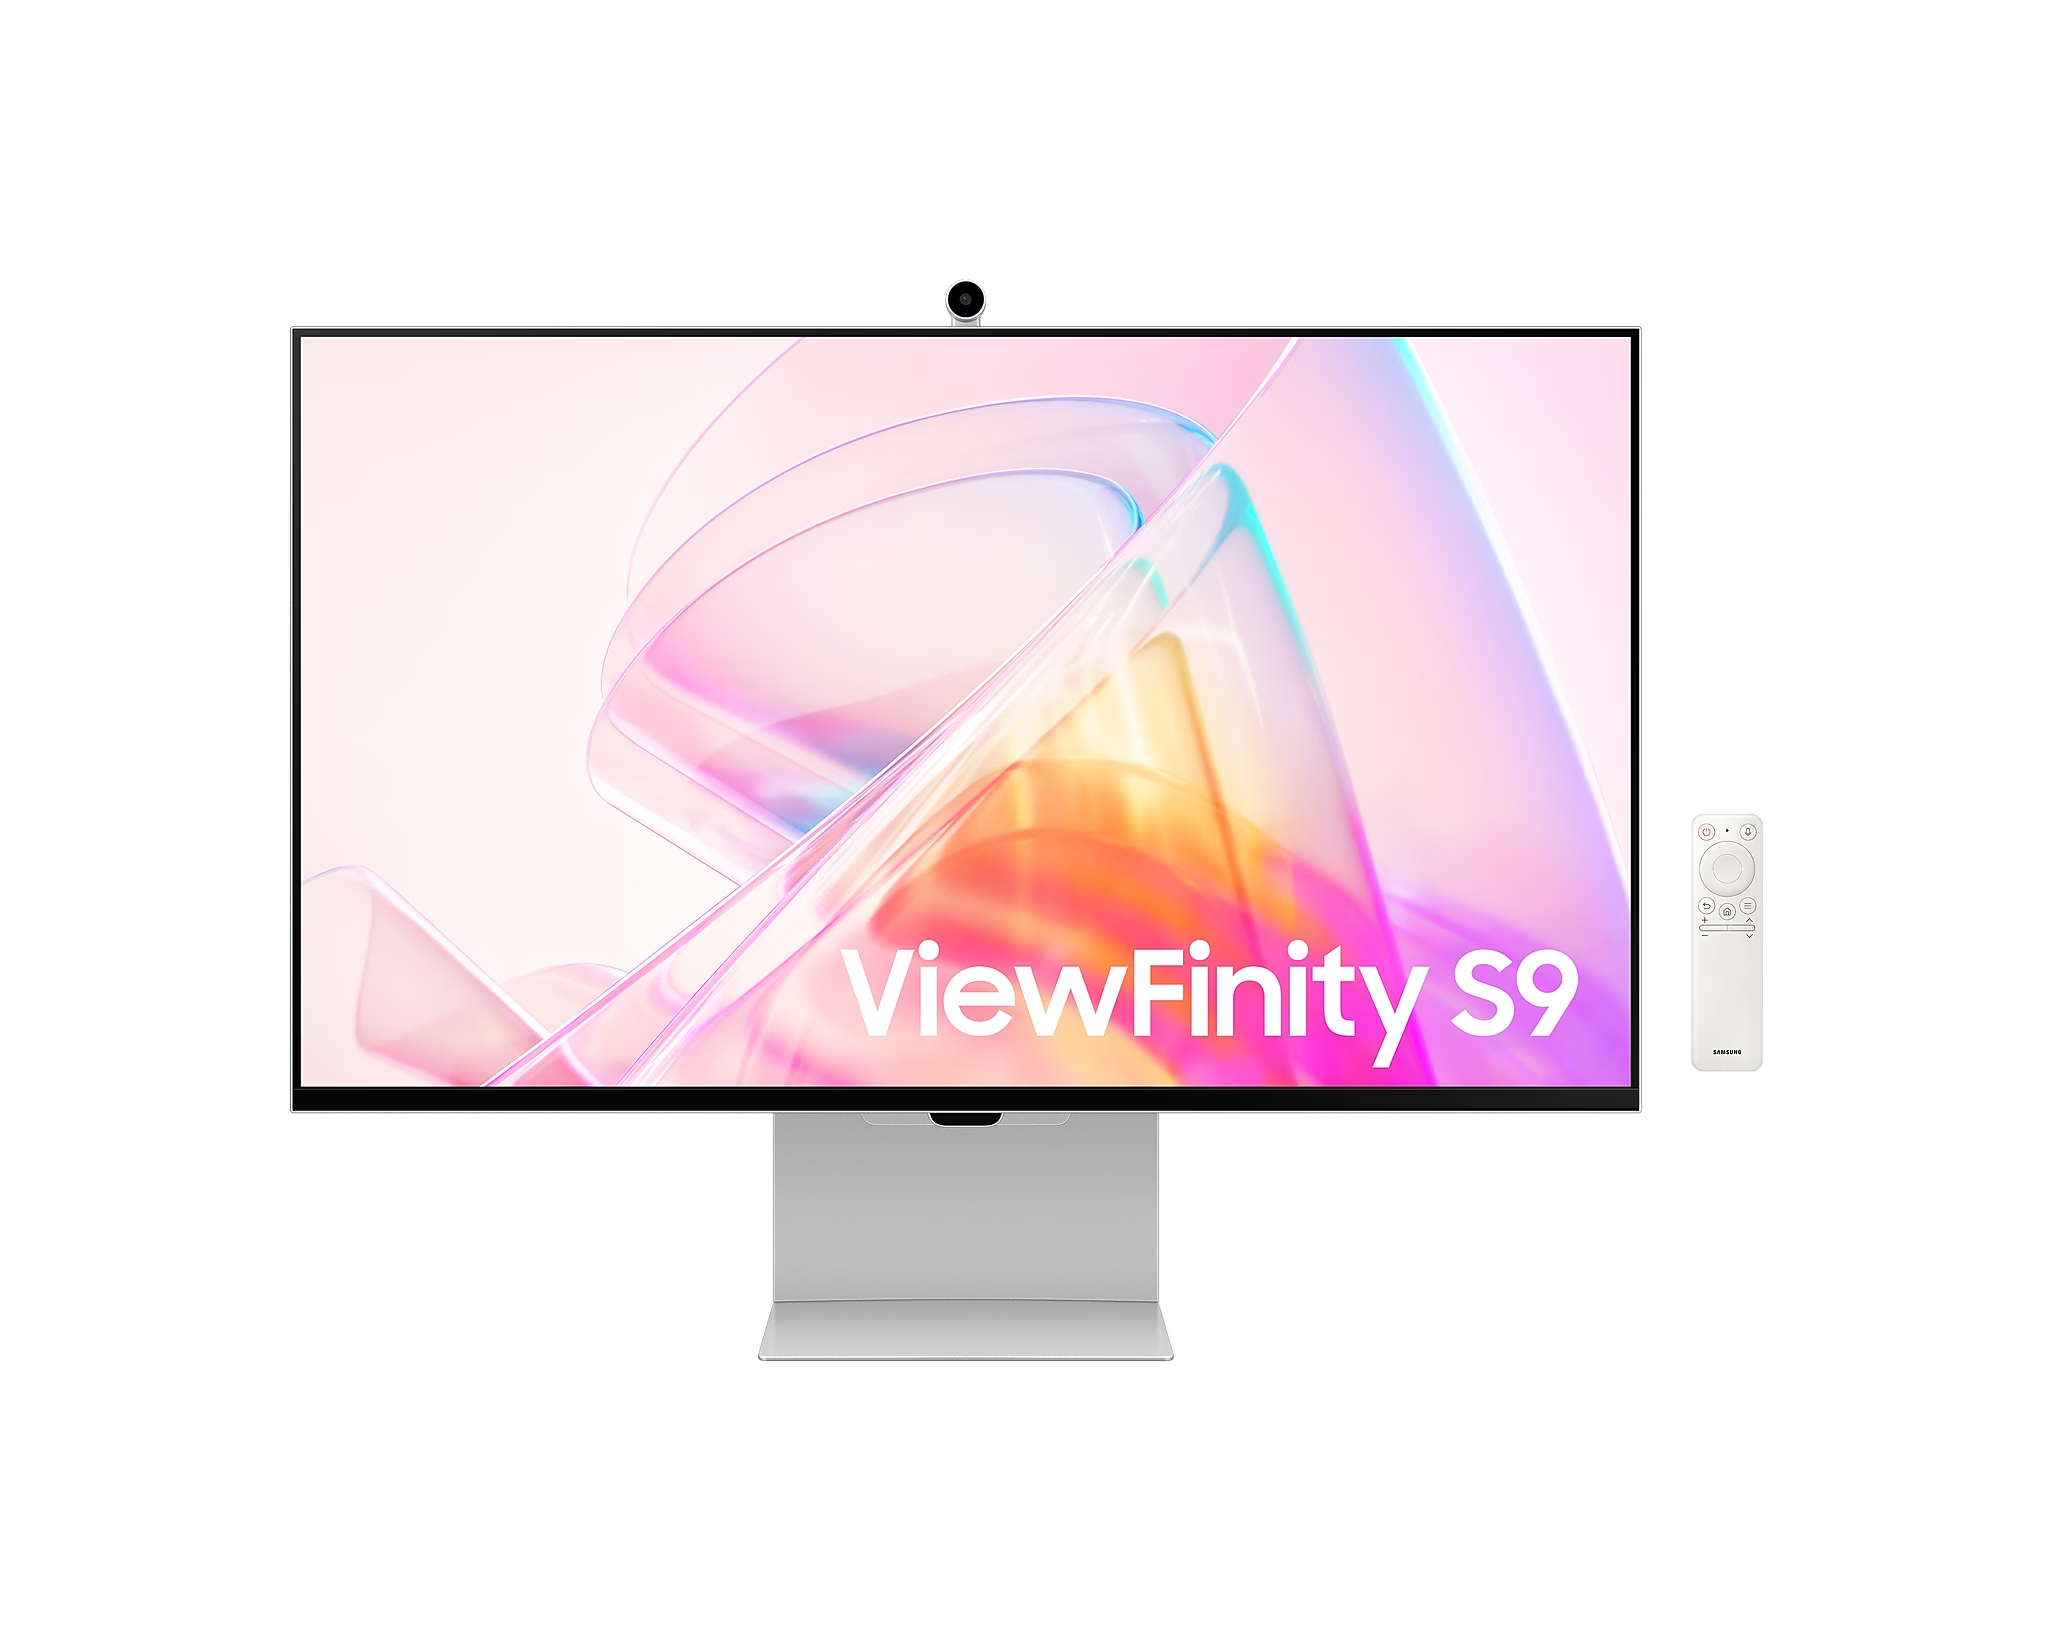
Then finally Samsung announced a release date for their 5k monitor (ViewFinity S90PC) and I saw the price. It was way more than I was hoping for but being already hyped and given the pre-order discount I decided to order it.

Once it arrived I was really happy with the picture quality and not so impressed with the build quality. Also, the fact that - because of macOS function key incompatibility, to change any settings - one had to use the on-screen menu or the remote control was a bit annoying.
“You saved 300 bucks compared to the Apple Studio Display, got a Tablet you can sell on eBay and still kept Windows / other devices’ compatibility” I told myself and accepted those drawbacks.
Then Samsung told me: “Nope”
One day later I realized that there was a tiny black dot in the middle of the screen. I took my phone and did a macro shot of it and saw that it was a field of dead pixels. Roughly 5x5.
I immediately contacted Samsung support and asked them to send a replacement but according to them this size of dead pixels and if it is only one area is inside their tolerance, so I would need to use my right to return and order a new one (of course without the pre-order discount and without having a monitor for a few days).
As I already executed the family “monitor rotation” meaning moving the LC-Power my wife had to my son, moving the Dell to my wife to make space for my new baby I was really unhappy with that answer. I would have to revert that rotation until I get a replacement and I would have to pay the full price which even exceeded the price of the Apple Studio Display (VESA mount).
So this first Samsung contact experience was already enough for me to decide getting rid of any Windows compatibility in my setup and to order an Apple Studio Display.
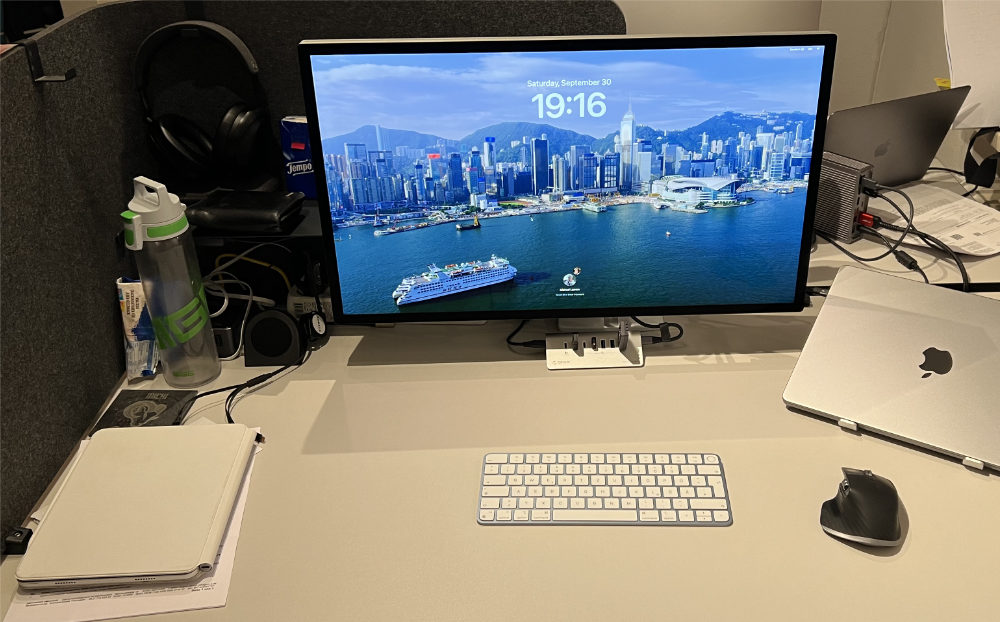
So using Samsung as an intermediate and acclimatization step I ended up paying for an Apple Studio Display. I ordered the VESA variant which saved me a few bucks and I didn’t order directly at Apple which saved another few bucks but still a lot of money to pay for a monitor.
The cool thing is that I now have a 5k monitor with exceptional build quality that works perfectly with my MacBook Pro. Additionally, I now can use the monitor as a USB-C hub and finally was able to get rid of the CalDigit Docking station. (which you could argue is also saving a few bucks 😉)
This brings my desk setup to an almost exclusive Apple setup. The only thing left is my Logitech mouse but as long as Apple only has the Magic Mouse there is no way to replace that one.

If you had asked me a year ago if I want to order an Apple Studio Display I would have said “No way, too expensive” but going there step by step tricked by brain into buying it.
Nevertheless, I am really happy with it now, and I have no regrets 😁.
